

How To Make Gradients In Procreate
Although Procreate doesn't come with whatsoever tools or features that directly permit y'all to create gradients, that doesn't hateful information technology can't be done manually. It also doesn't mean that it tin't exist done with ease either. The luminescence in Procreate'southward simplicity volition be on full display for today's tutorial as we go over how to brand a slope in Procreate using a manual method.
In short, the way that you tin make a gradient in Procreate is by filling divide layers with the colors you'd like used in the slope, and then blurring them together using the Gaussian Blur effect. This may sound like a convoluted procedure, only I can assure y'all information technology's non. It takes mere seconds to generate various types of gradients. In this tutorial I'll exist demonstrating how to practise and so for both linear and radial gradients.
How To Brand A Slope In Procreate
To make a gradient in Procreate, create separate layers that are filled with the colors y'all'd like used in your slope. So, blend them together using the Gaussian Blur outcome and merge the layers together.
The following video tutorial will walk you through the process of creating a linear gradient using Procreate. I also demonstrate how to fill a text object with that gradient, so check it out if you're looking for a practical application for the gradients y'all'll be creating:
Continue on for the written instructions.
Make A Linear Gradient In Procreate
Showtime, permit's go over how to brand the simplest blazon of gradient there is, which would be a linear gradient.
A linear gradient is a slope that blends two colors together following a single direct (or "linear") path.
Step 1: Create split up layers and fill each with the colors you'd like to use
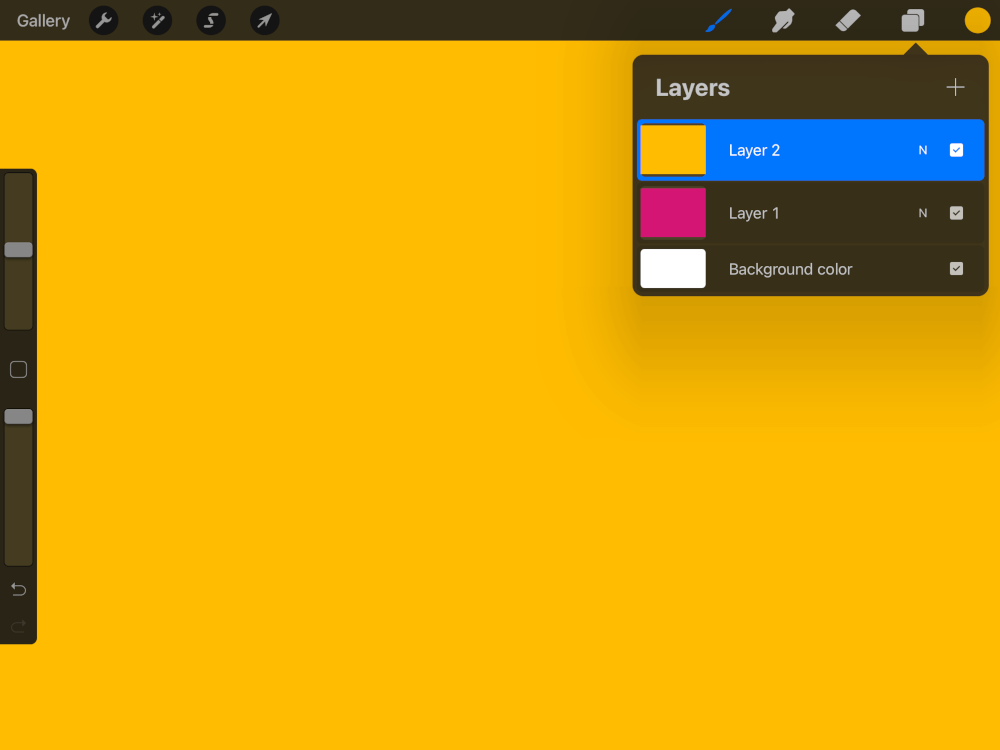
The first step in making a linear gradient is to create two carve up layers and fill each of the with the color you'd like used in your gradient.
For example, I'll be making a gradient that transitions from pinkish to yellow, then I've created two separate layers, filled one with pink and the other with yellowish:
Yous can fill your layers by merely clicking and dragging the color disc onto the canvas. Please refer to the video tutorial if you need a more elaborate caption of how to exercise so.
Step two: Move one of the layers over and utilise a total Gaussian Blur to it
Next, we're going to use the Motion Tool to motion the top layer over:
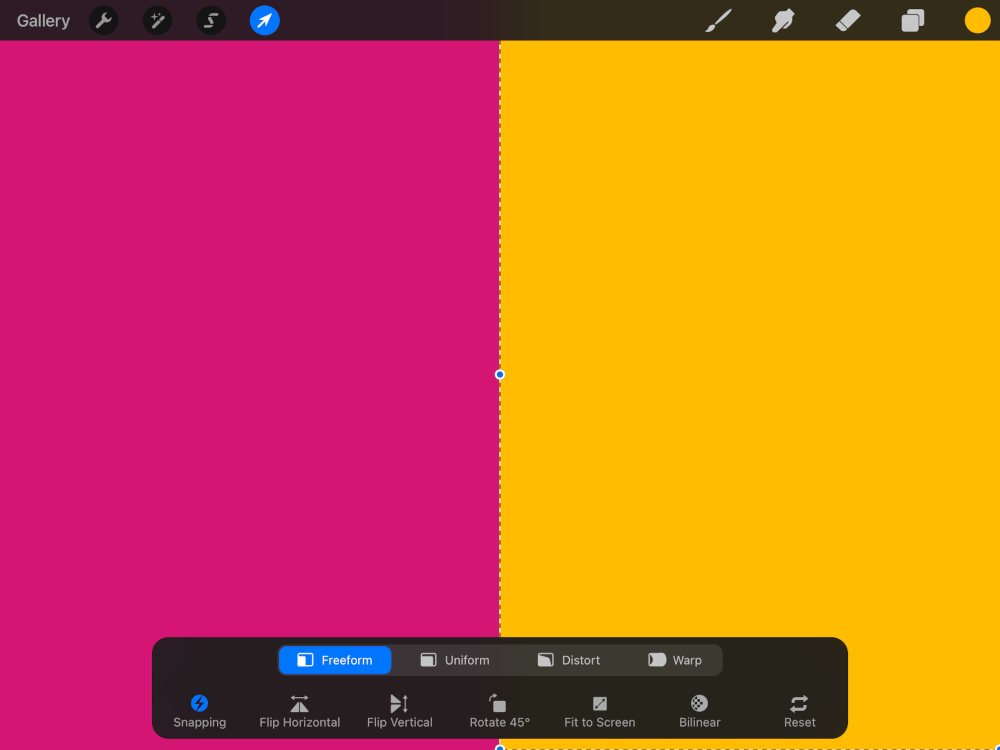
This placement will determine the management of your gradient likewise as the position of the colors in that gradient. And so, movement your layer to the meridian or lesser one-half of the screen if you'd like the slope to follow a vertical path. Move information technology to the left or correct one-half of the screen if y'all'd like information technology to follow a vertical path.
Information technology is recommended that you enable snapping while moving your layers. This will ensure that y'all position your layer exactly halfway across the canvas, and without losing its position of the vertical or horizontal axis.
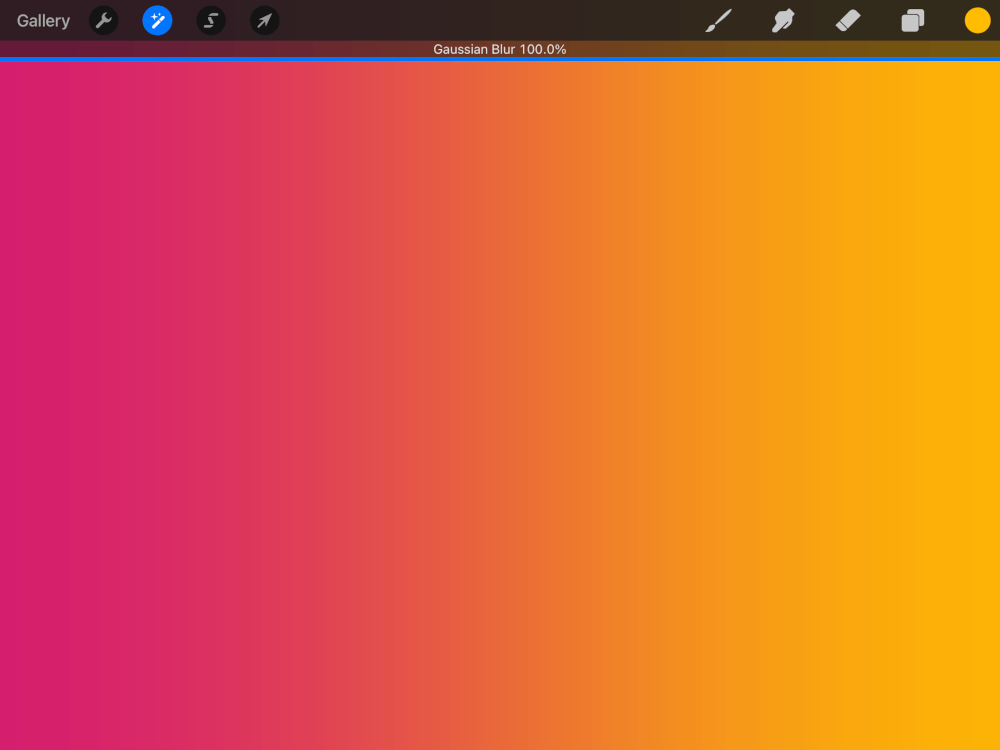
With the top layer still activated, apply a Gaussian Blur, which can be located in the Effects menu.
Brand sure to choose the apply the blur to the Layer (rather than the pencil) when prompted. Then, tap and drag all the fashion beyond your screen, from left to right, to blur the summit layer. This will effectively create a slope from your two colors:
Step iii: Merge both layers together, resulting in a linear gradient
If you're trying to brand a slope in Procreate then information technology's safe to presume that you lot would probably similar to use that gradient to fill other objects with. In order to do and then, you'll take to merge the two layers together first.
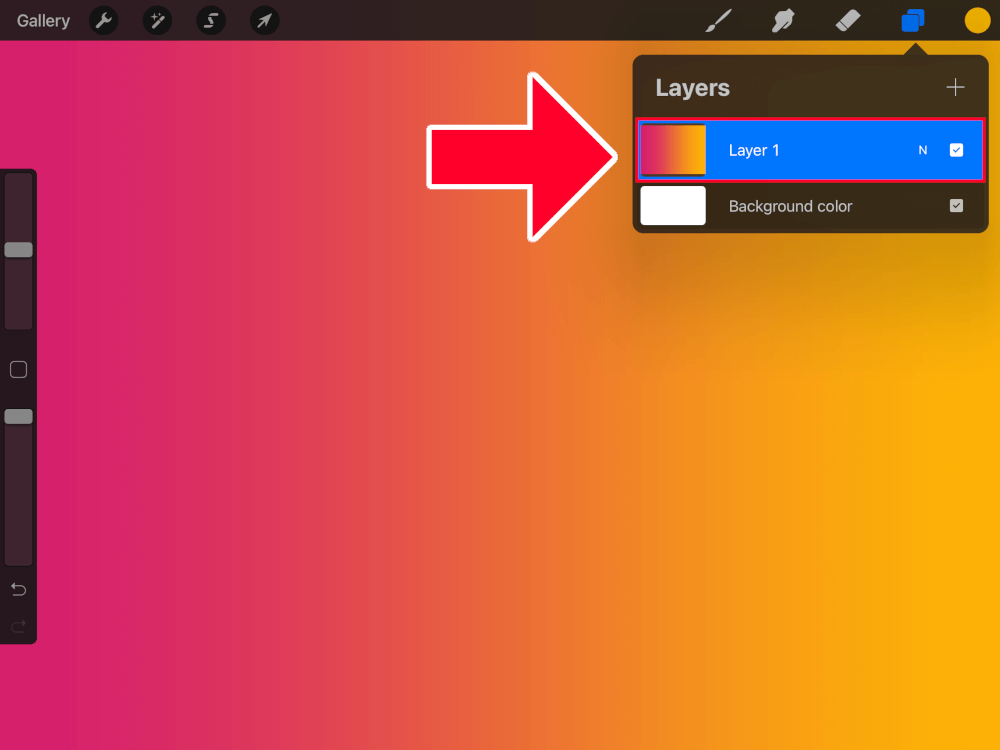
Open the Layers carte du jour, tap on the top layer until the flyout menu populates, and select Merge Down.
This will combine the two layers together, making them into a unmarried usable gradient:
Make A Radial Gradient In Procreate
Another blazon of gradient that y'all can make in Procreate is a radial slope.
Unlike a linear slope, which follows a straight path, a radial gradient follows a circular path. Let's get over how to make a radial slope in Procreate.
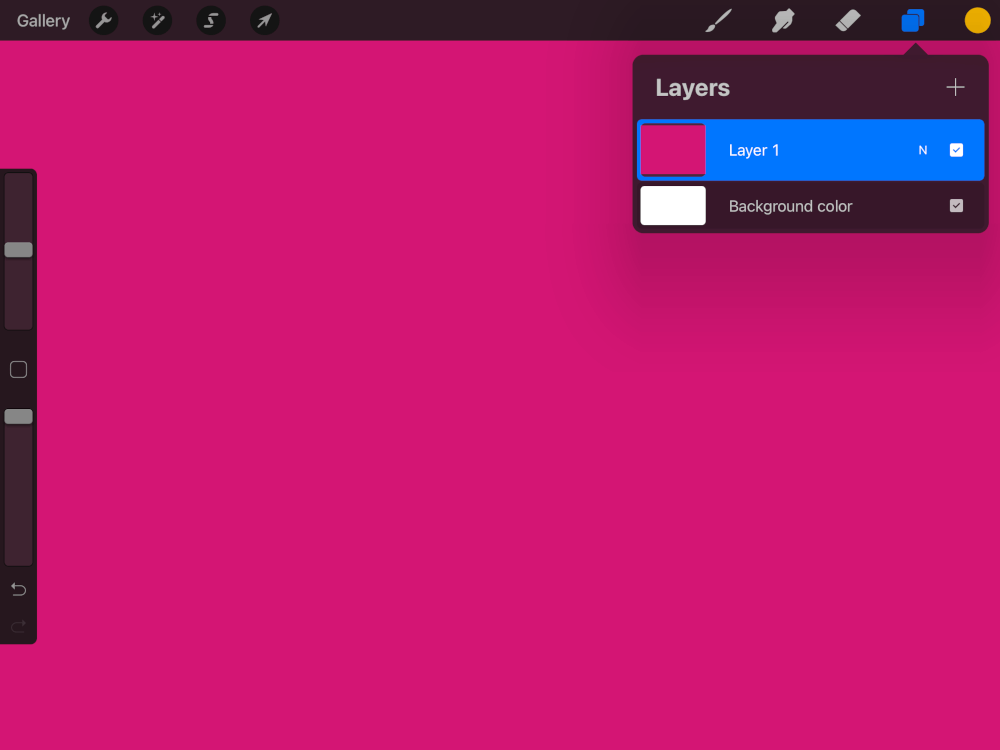
Step 1: Create a new layer and fill it with ane of the colors y'all'd similar used in the slope
First, create a new layer and fill it with the outer virtually color you'd similar used in your radial gradient.
For this sit-in I will be making the outside of the gradient pink and the within xanthous, and then I'll be filling this layer with pink:
Step ii: Create a new layer with an ellipse choice that is filled with the other color
Adjacent, add together a new layer on top of the previous layer and use the Choice Tool to create an ellipse selection in the center of your sail:
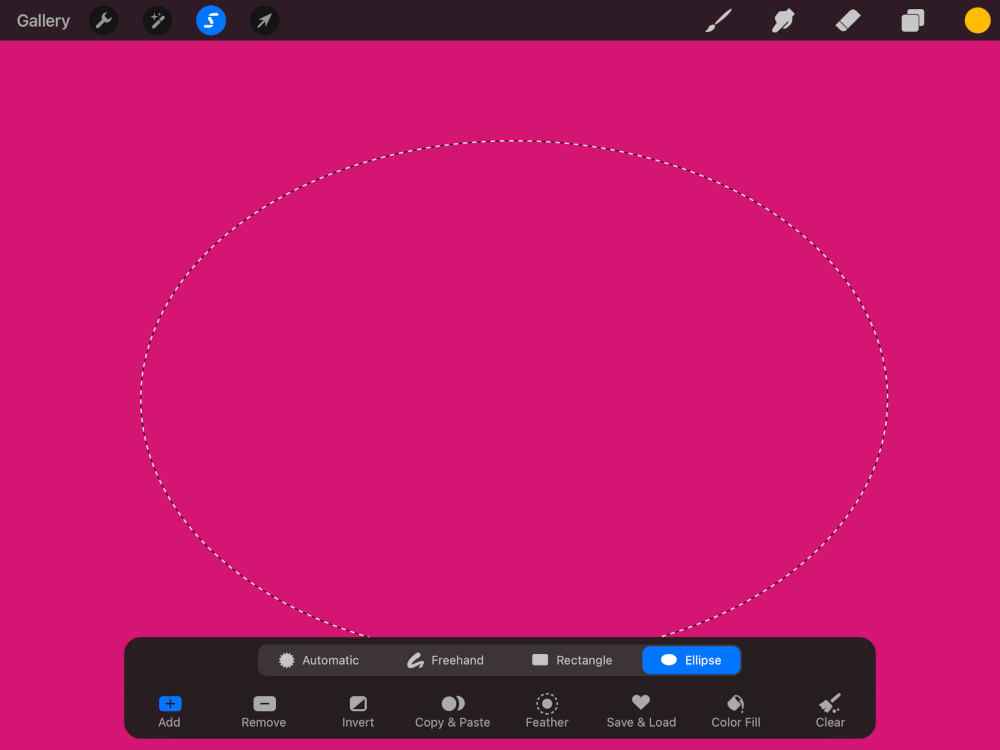
Make full that ellipse choice with the inner most color you lot'd similar used in your radial gradient. In my case, that would be yellowish:

Once completed, you lot may have to align the ellipse to the center of the page using the move tool with snapping enabled.
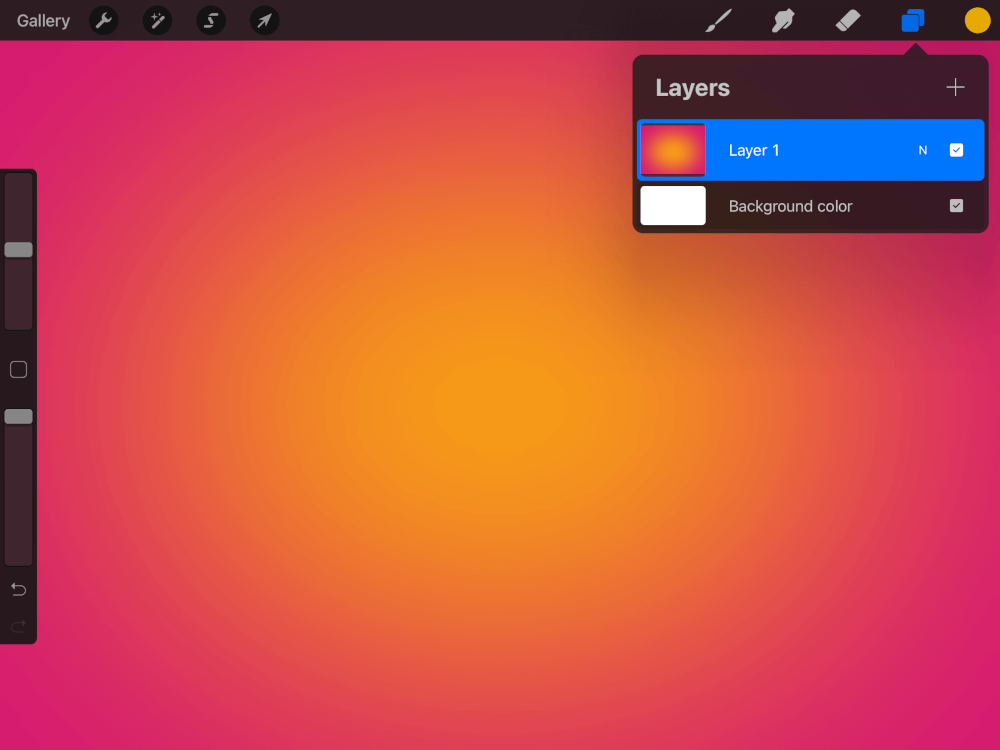
Step three: Apply a Gaussian Blur to the ellipse layer
Much like we did for the linear gradient, nosotros will be applying a Gaussian Blur to the layer with the ellipse on information technology.
With that top layer still activated, open the Gaussian Mistiness effect, located in the Furnishings menu. When prompted, make sure to choose to apply information technology to the Layer rather than the pencil.
Tap and swipe from the left side of your screen to the right in lodge to apply a full blur. This will essentially make a slope from the ii layers:

Footstep 4: Merge both layers together, resulting in a radial gradient
This final footstep in our quest to make a gradient in Procreate is to only merge the two layers together and so that we will be left with a unmarried usable slope layer.
To do so, open the Layers bill of fare and tap on the top layer until you get the flyout card. So, select Merge Downward.
This volition combine your two layers together, resulting in a usable gradient:
Refer to the video tutorial at the beginning of the post if you'd like to know how to fill objects (such as text) with your gradient.
Conclusion
Earlier this year when I fabricated a review postal service comparing Affinity Designer vs Procreate, 1 of the things I criticized Procreate for was having an inability to create gradients. However, that'due south not entirely true. As I've demonstrated in this tutorial, you tin make a slope in Procreate with relative ease if you follow a manual approach.
In a style, this just goes to show the brilliance in Procreate's simplicity. Seeing how like shooting fish in a barrel it is to manually create gradients sort of makes you question the need for a gradient tool in the first identify, and this has been a common theme equally I've connected to explore the program. On various occasions I've lamented non having a certain tool or characteristic, simply to find out that I never needed that feature in the first place. This has caused me to completely rethink what makes a nifty blueprint application.
If you accept any questions or demand description on any of the steps taken in this tutorial, just leave a comment below.

Become A Master of Adobe Illustrator!
Want to learn more about how Adobe Illustrator works? Check out my Illustrator Explainer Series - a comprehensive collection of over 100 videos where I become over every tool, feature and office and explain what information technology is, how it works, and why it's useful.
Logos Past Nick LLC is a participant in the Amazon Services LLC Assembly Program, an affiliate advertizing program designed to provide a means for sites to earn advert fees by advertising and linking to Amazon.com. As an Amazon Associate I earn from qualifying purchases. Read chapter disclosure here.
Source: https://logosbynick.com/make-a-gradient-in-procreate/
0 Response to "How To Make Gradients In Procreate"
Post a Comment